
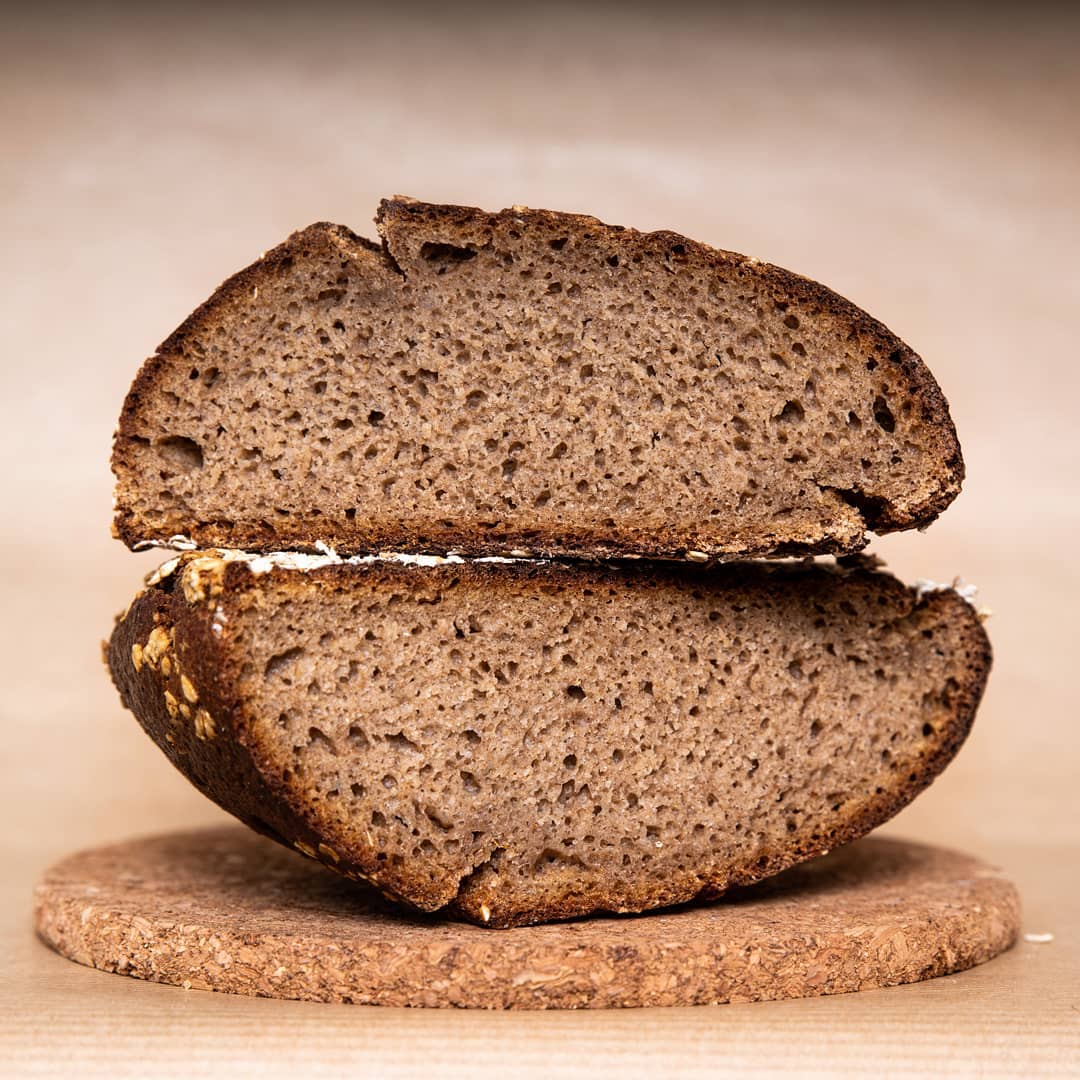
yeasted version of glass bread:
I saw these so called 100% hydration Glass bread recipes online a few years ago.
They looked like the ideal sandwich breads for me. crusty on both sides. Cut in half, filled with what you like.
So I decided to try out some of the recipes.
The recipes I tried were far too wet at 100% hydration. The doughs had no body or strength. They failed badly.
The recipes I found online said they were 100% hydration, but the dough they work with did not look like 100% hydration. The doughs looked more like 80-90% hydration.
So I have opted for a 90% hydration glass bread.
++++++++++++++++++++++++++++++++++
Makes 4 glass bread rolls, with a fabulous textured crumb with a crispy thin crust.
No kneading, just bowl folds with a scraper in the same bowl.
line 2 baking trays with baking paper.
A fish slice to transfer the dough onto the baking sheets.
I use Shipton Mill’s No 4 organic bread flour.
I use a bench scraper to mix the dough and do the bowl folds.
However, you can use your hands too.
Keep a small bowl of water handy, just wet your hands before doing the bowl folds.
++++++++++++++++++++++++++++++++++
MAKE THE DOUGH
350g organic white bread flour.
7g fast action dry yeast
8g salt
315g bottled/filtered room temperature water
15g olive oil, to be added after the first rest period
++++++++++++++++++++++++++++++++++
METHOD
put flour, salt and yeast into a large bowl, whisk to mix
pour in the water.
stir with wooden spoon for 2 minutes until smooth
scrape down bowl and cover with cling film
rest for 20 minutes
++++++++++++++++++++++++++++++++++
pour the olive oil over the dough
now do some bowl folds for a minute or so.
Keep folding until the olive oil has mixed into the dough.
basically: While turning the bowl, fold the dough into the centre
I used my bench scraper to do this.
scrape bowl down and cover with the film
rest for 20 minutes
++++++++++++++++++++++++++++++++++
now do 2 more bowl folds with a 20 minute rest in between each one.
same technique as above
Turning the bowl and fold the dough into the centre, but only for one turn this time.
scrape bowl down and cover with the film between folds.
-
First coil fold: a little more puffier and bubblier
-
Second coil fold: looking and feeling stronger
rest for 20 minutes
+++++++++++++++++++++++++++++++++
tip dough onto well floured work surface
The dough is extremely sticky. so lots of flour, but not too much.
flour the top of the dough
gently pat dough and shape into a square with the bench scraper.
The dough feels amazingly soft.
divide the dough into 4 equal pieces.
shape into squares with the bench scrape
gently transfer the dough onto the lined baking sheets.
I use a plastic fish slice to transfer the dough.
I flour the work surface next to the dough and quickly slide the fish slice under the edge of the dough.
do a final proof of 20 minutes uncovered
after 10 minutes heat the oven
++++++++++++++++++++++++++++++++++
Heat oven
200C fan or 220C
bake for 30 minutes
Swap the baking trays around after 20 minutes
bake for 10 more minutes until nice a golden
remove from oven
let cool. eat!
++++++++++++++++++++++++++++++++++


Hey SatansMaggotyCumFart
Thank you
I do usually use just a small pinch of yeast with a longer bulk.
I thought that by developing the dough in a few hours it would make it a little easier for the not so experienced bakers to get used to a high hydration dough.
It still tastes great with the classic Shipton Mill White No 4 organic bread flour
Awesome!
Only reason I mentioned that is it’s one thing that’s completely changed my baking for the better.
Hey SatansMaggotyCumFart
It is an eye opener when you start getting used to long bulk rises.
It definitely improves bread