
108·
9 days agoKinda comparing turds to diarrhea if you ask me.
Kinda comparing turds to diarrhea if you ask me.

That’s not all he lost.

I’ve made a decent NAS out of a Raspberry Pi 4. It used USB to SATA converters and old hard drives.
My setup has one 3Tb drive and two 1.5Tb drives. The 1.5Tb drives form a 3Tb drive using RAID and then combines with the 3Tb drive to make redundant storage.
Yes it’s inefficient AF but it’s good enough for full HD streaming so good enough for me.
I’m too stingy to buy better drives.

If taxes were fair there would be no billionaires.
10 was obnoxious enough. 11 dialed it up to 11.
This is something straight out of Warhammer 40000.
They did a long time ago. Overpriced books that only changed layouts yearly just so that they can charge you for it again. Like having to keep up with the editions so that you can follow the lessons.
Yarrrrrr
Cortana got rampancy IRL.
“Talking fluently”. You get completely meaningless answers. Big walls of text without content.
AI is a hindrance, not a helper.

And if you want to play well you have to memorize the abilities of IIRC 180 champions and how they interact with each other.
It’s an extremely complicated game and apparently LoL is considered casual.

Have you considered lasercutting or CNC milling as well? And what about lithophanes?
3D printers are highly accessible to people, even people with no technical knowledge can just buy one, download models and have it print successfully. Selling 3D printed parts pretty much only works if you do design as well and not many people request something like that. I don’t think you can make a feasible business out of 3D printing alone.
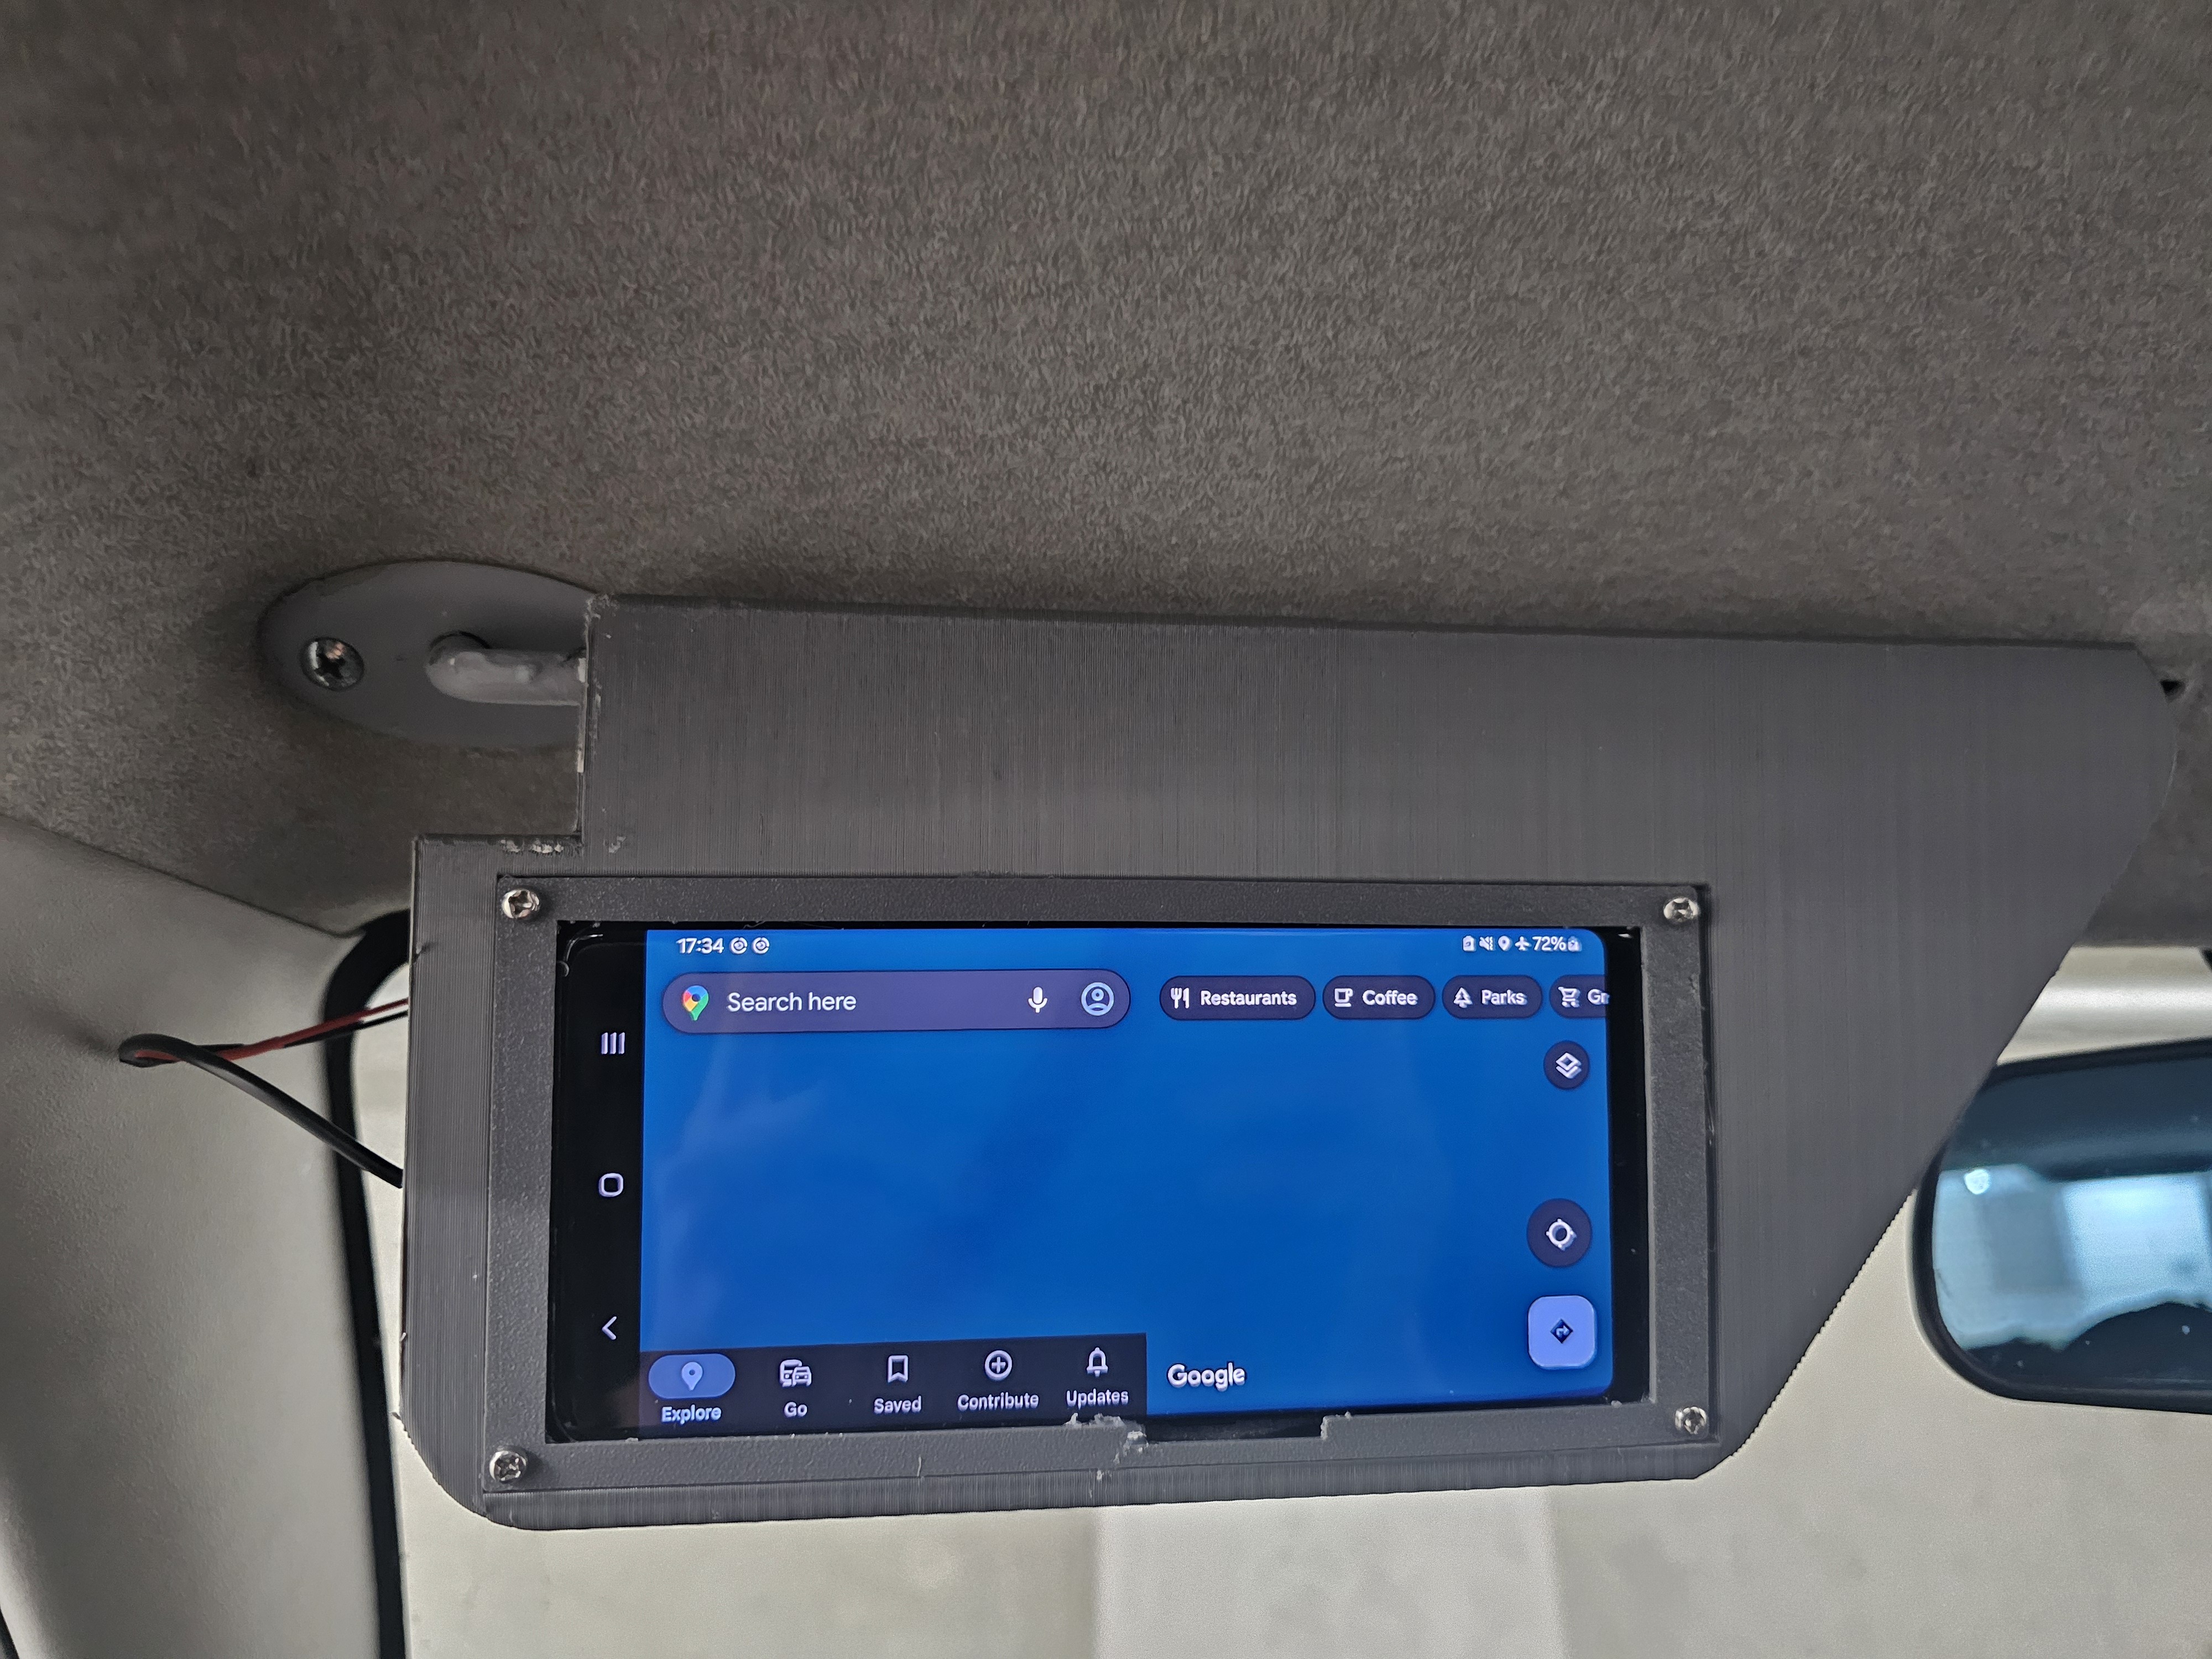
And there is mechanical design and aesthetic design, which both are completely different practices. I mean things like making a TV mount or a tube holder vs making a detailed Warhammer 40K model. You need different software and skills for both of them and it consumes a lot of time to do well.
CNC milling and lasercutting is not as wide spread as 3D printing is so you could still end up finding people interested in objects made this way.
Hey man, it’s an honest business owner. That’s an extremely rare sight.

The IT folk doesn’t have any power in big companies. They get told what to install by higher management. And higher management usually knows fuckall about computers but does listen to consultants and fancy buzzwords which is something Microsoft is insanely good at.
Time to clean your keyboard.

Kept ya waiting huh?
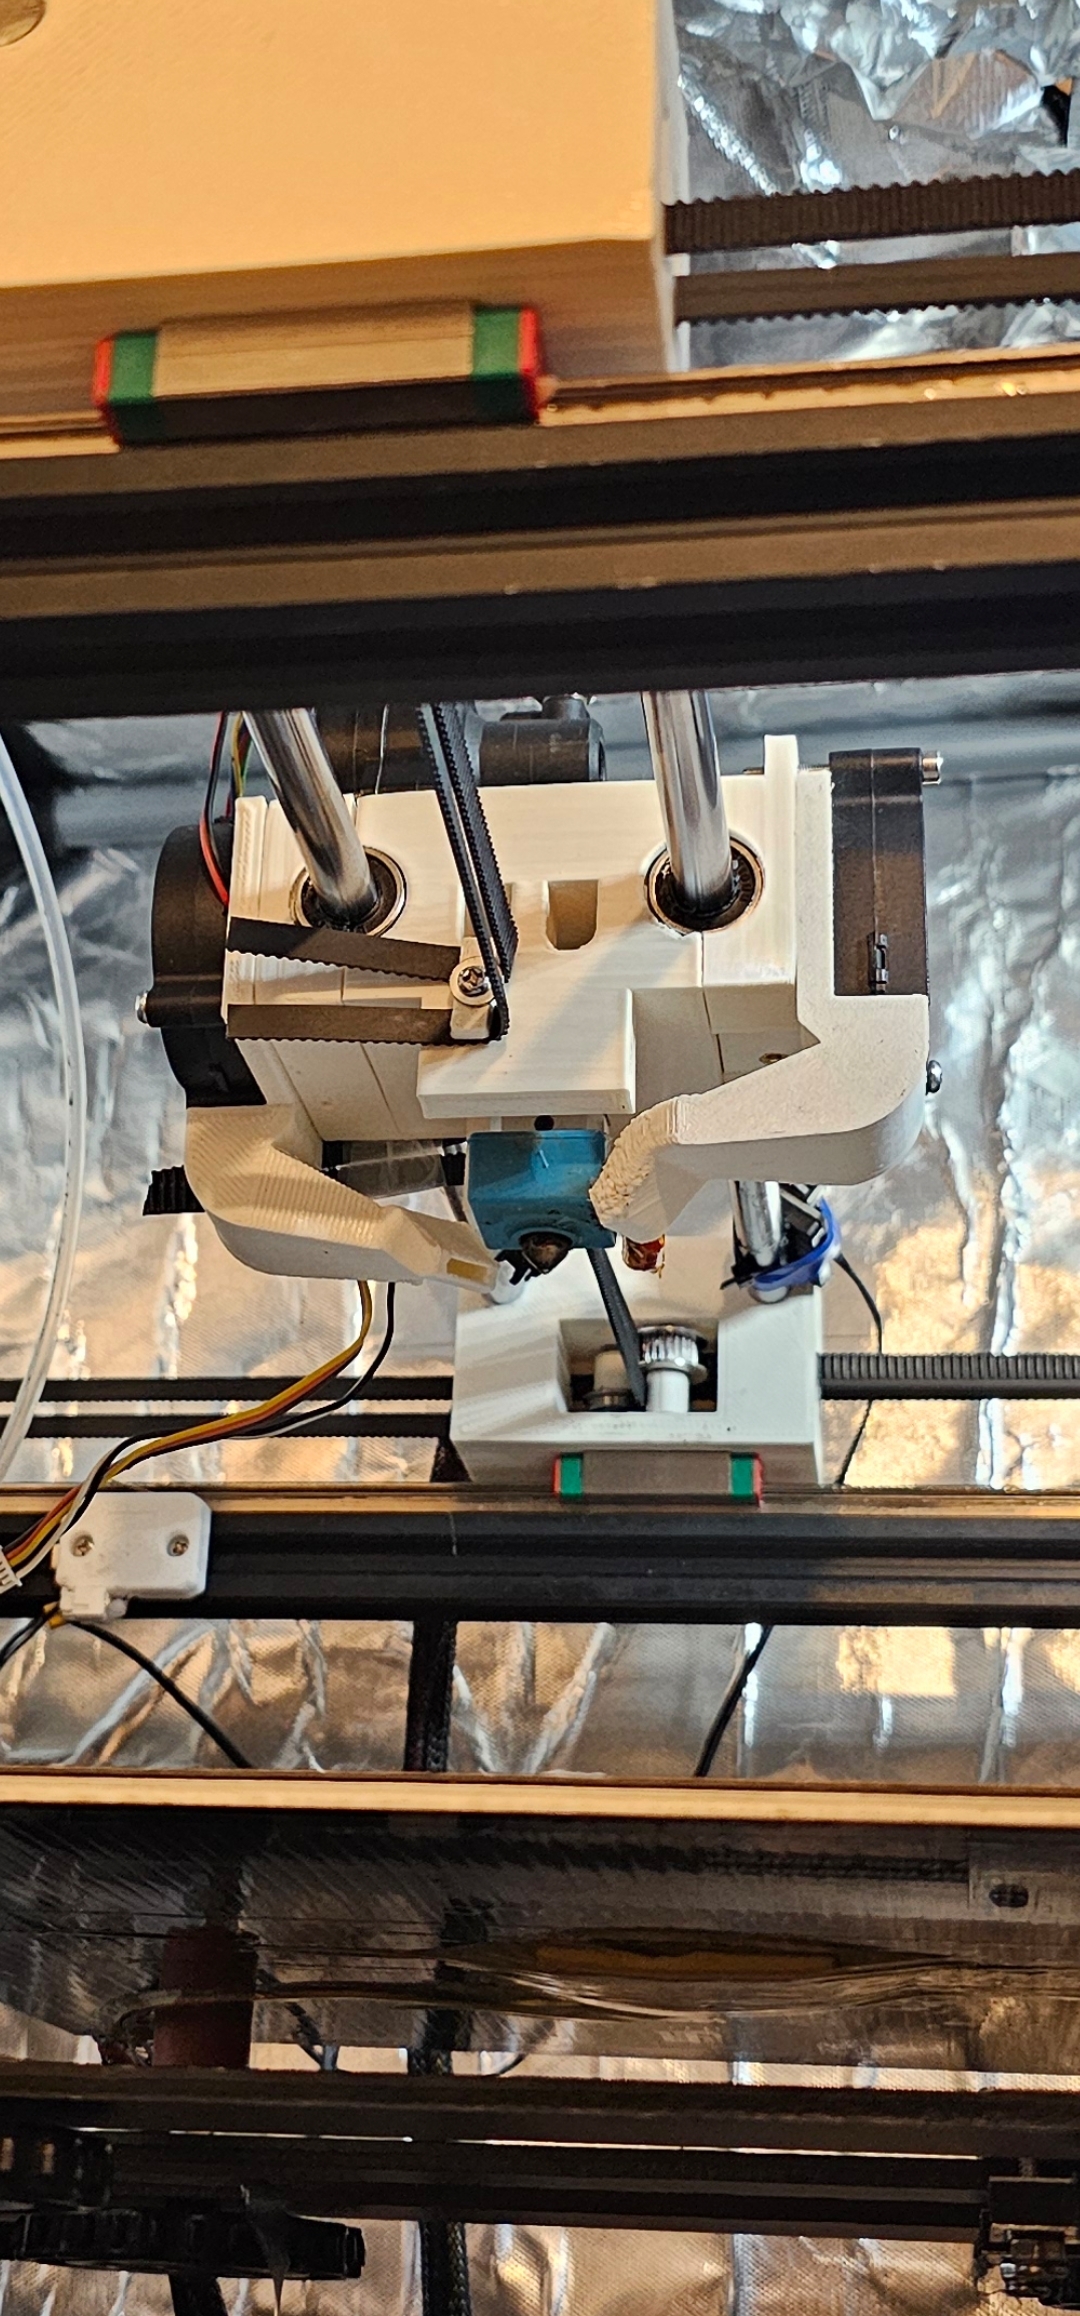
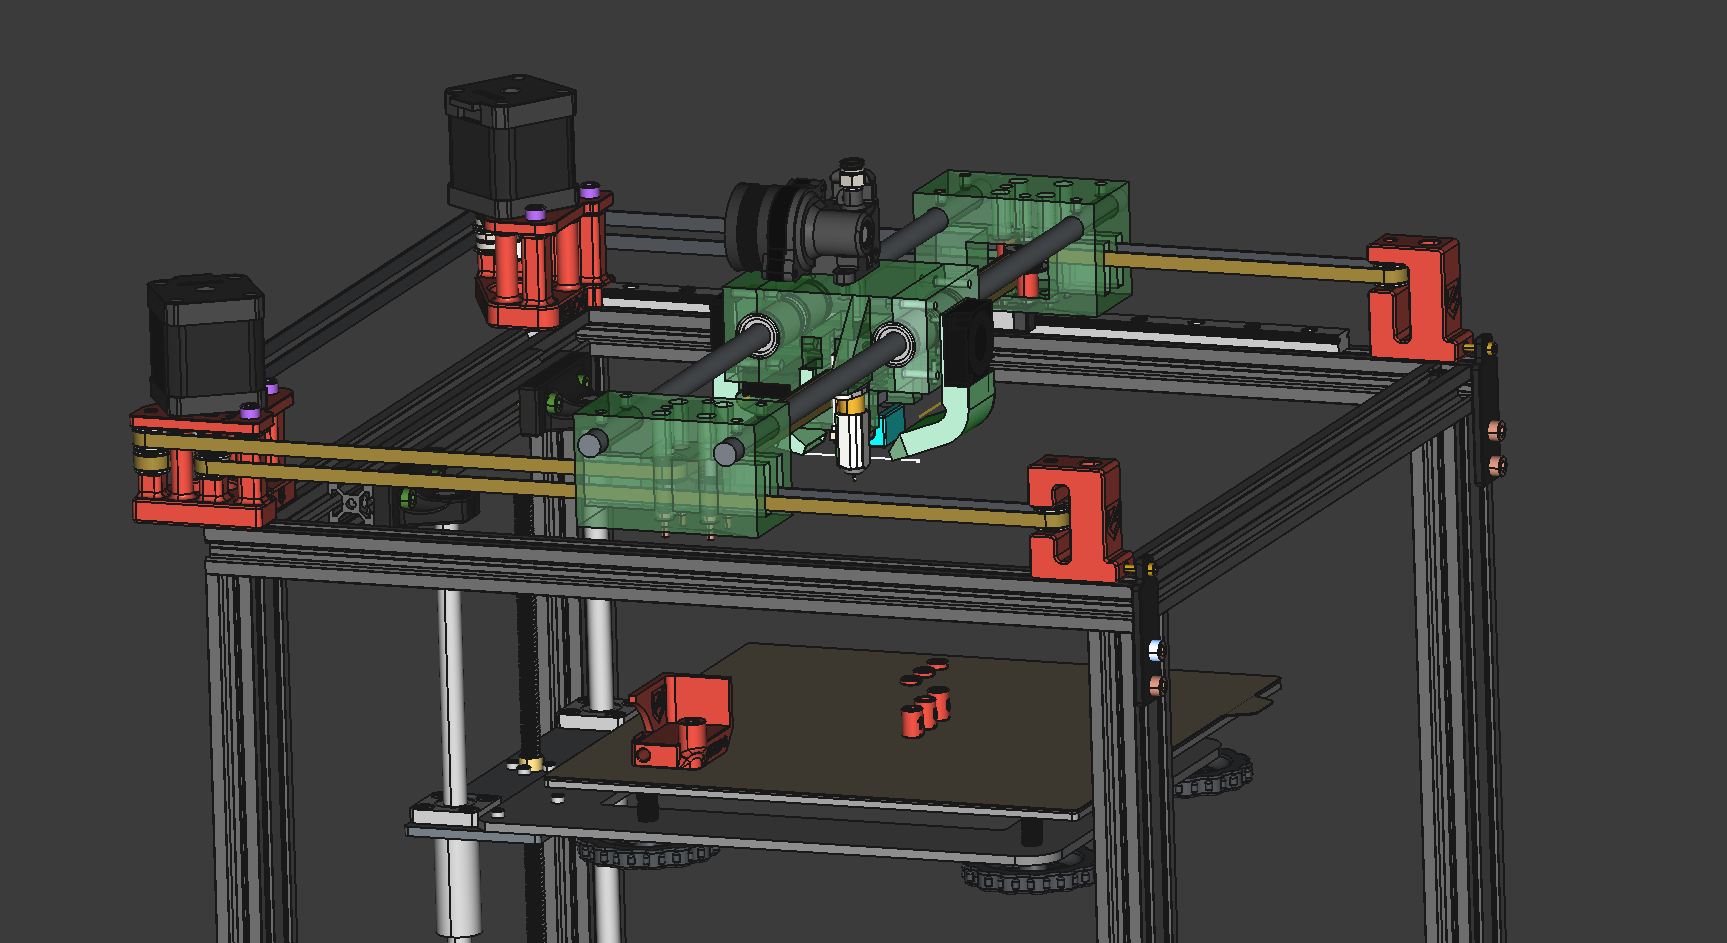
Okay so if I want to print a gun I’ll just tighten an eccentric nut or belt tensioner. Lol
I think a dual nozzle system is already good enough for most users. Especially when your print area is large enough to make it feasible.
WAF had me laugh out loud.
Not worth the microplastic. Just put a sticker over it.

Well I’ve been using openSuse for a while and habe noch keine German influence gesehen.