

Hopefully this isn’t a common problem, but I was running auto bed leveling manually, the getting failed prints because I didn’t save the levelling results to the printer and I didn’t have gcode to load the levelling data and enable it in my slicer settings.
Maybe something similar is happening to you.
You can also try disabling auto leveling and level manually, that was giving me better prints for a while but it’s a pain.
You might try adding a small fillet or chamfer to the inside corners of the model. 3D printers don’t like making sharp, pointed turns; rounded edges (or wider angled turns) tend to print much better.

The rounded (fillet) corners will probably be less visible, and will prevent the start / stopping point where the problem is occurring
Avoid fillets and use chamfers if at all possible. Fillets will often call for printing supports or just look bad. But the common 45 degree chamfer will be easily printed and look better when done.
Chamfers are to be preferred over fillets.
The corner is laying down. The would be no supports in either case, and the fillet avoids hard turns while the chamfer still has two (less sharp) angles.
Like 99% of things in 3D printing, “Xs are to be preferred over Ys” is an entirely circumstantial statement that is never going to be true all of the time.
It depends on the orientation you print in.
ah. I’ll try that, thanks.
I would also try to increase the printing temperature a little bit, that can make stuff stick together better.
I’m in agreement with the others. This is a printer issue, not a model design issue. Any current printer in good working order and running non-insane settings should be able to print a 90 degree inside corner like that with no problem.
Some possibilities:
Your Z offset may be set too high, so that your first layer height is too tall. This will result in the first layer’s extrusions not sticking to the bed and each other, peeling off in strings like you see here.
Flip this over and show us the bottom of it. The effects of a too-high first layer should be readily apparent. That’s where my money is.
Your printer may also be attempting to round the corners too fast. You could slow down your print speed, or adjust your linear advance settings. If you are using Prusaslicer or a derivative thereof (Orca, Qidi, etc.) there are built-in calibration prints you can run that will provide you a range of values to inspect my physically printing them, and allowing you to choose from the value that produces the best looking result. Ideally your linear advance/pressure advance setting should be tuned for each spool of filament, but in reality most people (myself included) don’t bother until they observe an issue. I use the same settings for all PLA, and a different set of settings for all PETG, and another for ABS, etc.
It was printed lying down. I’ll add the model and slicer screenshot after I get home
You could also try increasing your temperature and/or lowering your print speed. I had issues like this when I switched to using Orca Slicer. It’s pursuit of speed comes at a cost in terms of adhesion.
Is that separation happening between the first and second layers?
What printer, what settings, what nozzle size, what filament are you using?
sorry, ender3v3 corexz, polyterra matte pla, 0.4 mm nozzle size
What temps? what wall thickness? What slicer?
Looks like first layer adhesion issues, but given the print finished with no other issues, I’d call this a success. You might try adding a raft or brim next time to isolate the first layer issues from the print itself.
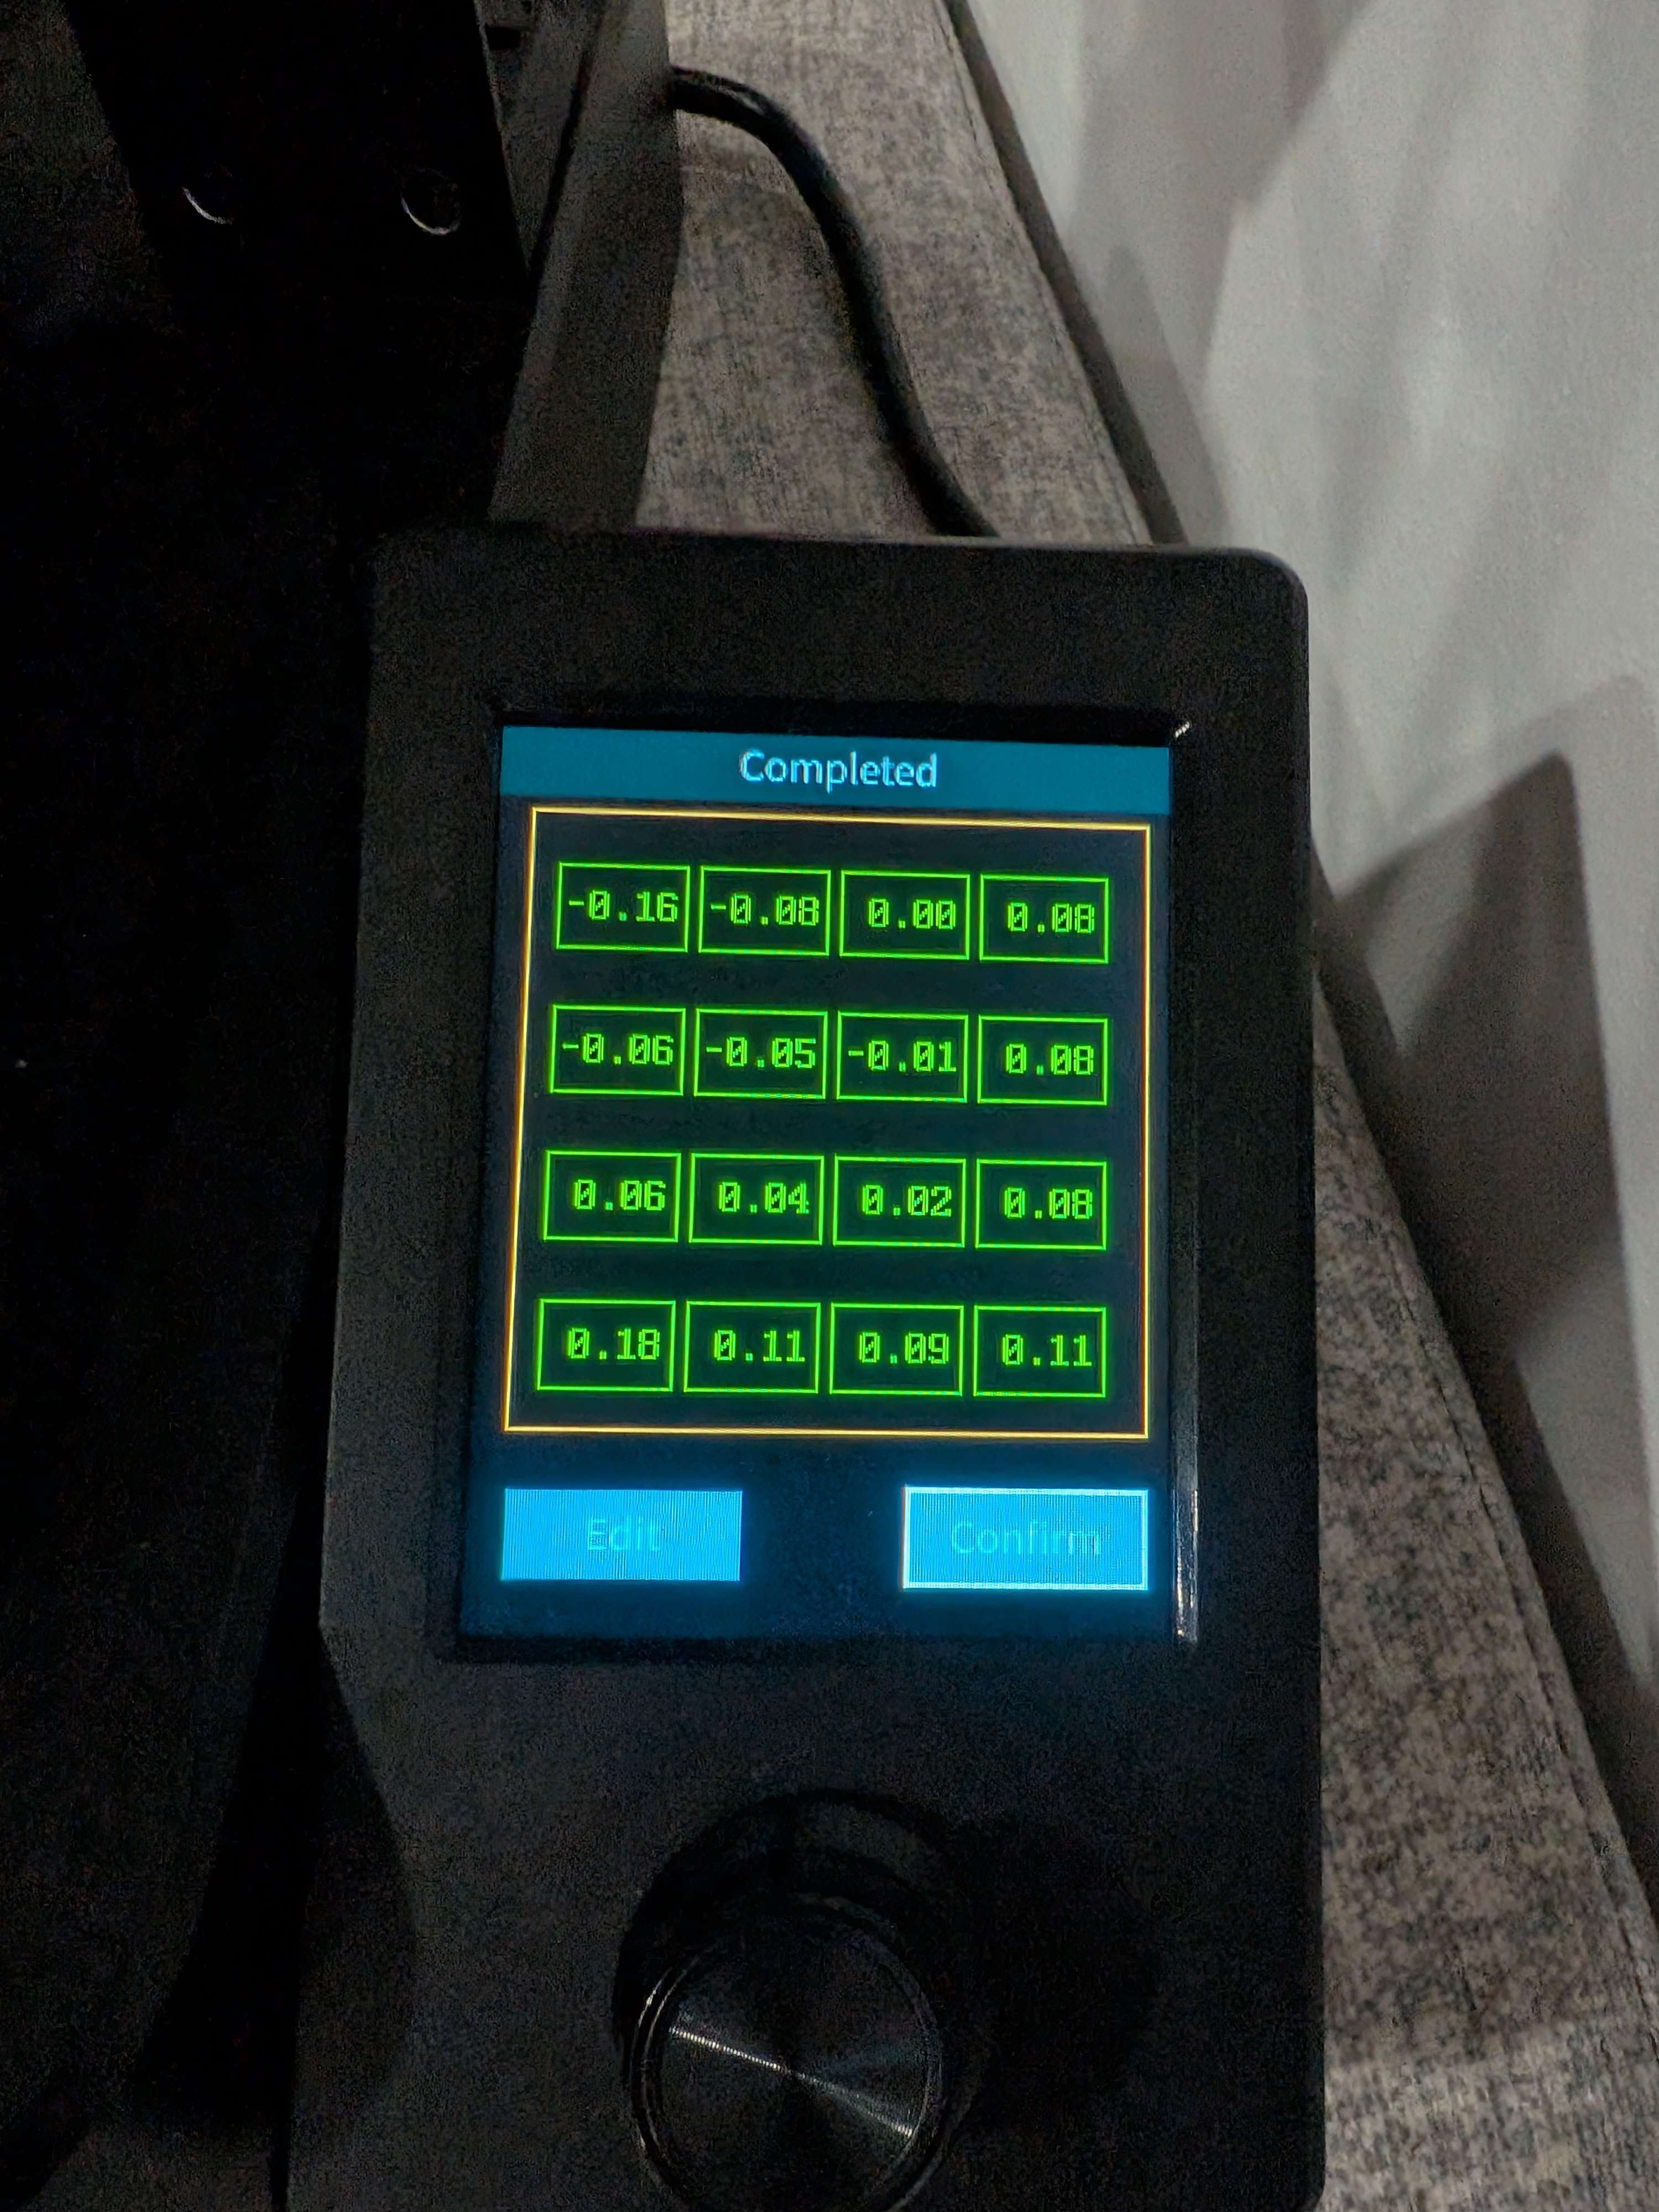
This looks like bed level being off, which is notorious for the v3, can you send a picture of your auto level screen?
Every time i see something like this, the answer is usually drying your filament. fixes all kinds of weird issues like this. Even fresh rolls sometimes need it.
This is just plainly wrong


